First Time Setup
Setting up new email account for the first time
= Instructions for iPhone/iOS
Please follow the steps given below to configure your Cloud-Email to your iPhone Mobile Device:
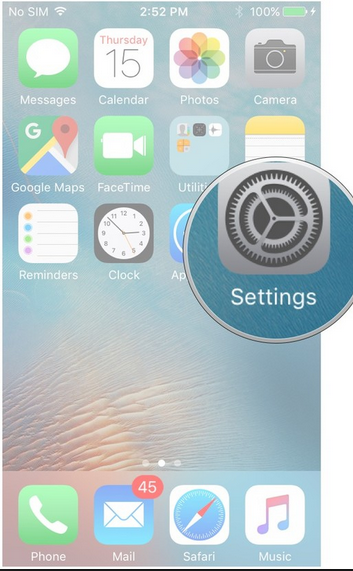
1. Unlock your iPhone Device and navigate to the Home Screen Menu.
2. Select the “Settings” Button to start iPhone Email Configuration
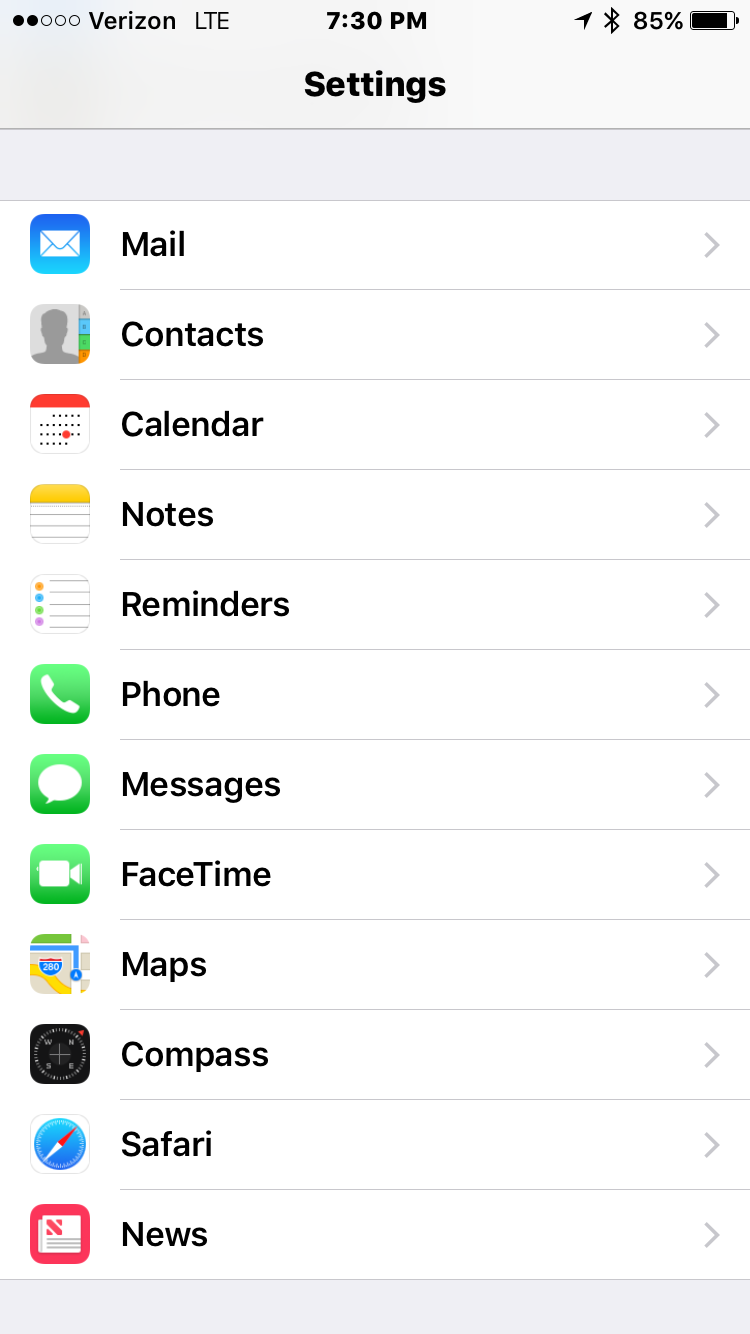
3. Once the “Settings” Page starts, locate the menu entry “Mail”.
4. Select the “Mail” Entry.
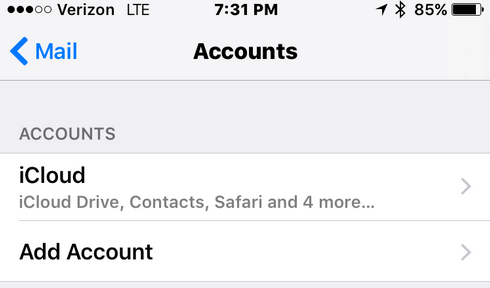
5. Once the “Mail, Contacts, Calendar” starts, all pre-configured Mail Accounts will be listed in this page.
6. Click “Add Account…” button under the Accounts Section
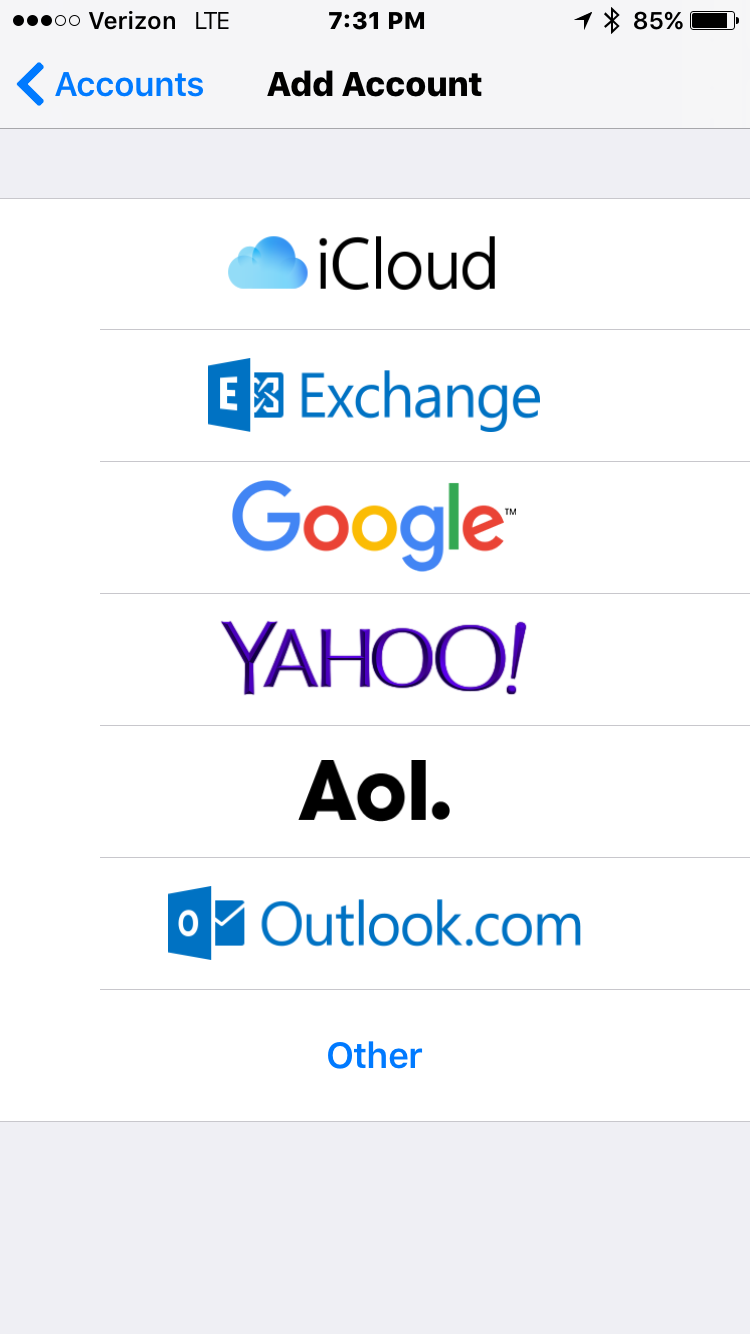
7. While “Adding Account” make sure to select “Other” button since your Cloud Email Account is not a Microsoft Exchange or listed Email Providers.
8. Select the “Other” button
9. Click “Add Mail Account” button to start the wizard based pages which will allow you to add a New Cloud Mail Account.
10. The “New Account” wizard will start.
11. Enter your email display name.
12. Enter Your Cloud Email Address and Cloud Email Password.
13. Then Click on “Next” button to begin
14. Your iPhone Device will save the entries for your new Cloud Account linkage, and display a configuration page
15. This configuration page will contain separate sections for “Incoming Mail Server” and “Outgoing Mail Server”.
16. Select the “Incoming Mail Server” Section and start editing the entries under this section.
> Enter the Host name as “egaincloud.com”
> Enter the User name as your Cloud Email Address
> Enter the Password as your Cloud Email Password
20. Select the “Outgoing Mail Server” Section and start editing the entries under this section.
> Enter the Host name as “egaincloud.com”
> Enter the User name as your Cloud Email Address
> Enter the Password as your Cloud Email Password
21. Then click on “Next” Button
22. Once you return to “New Account” wizard page, click on “Save” Button.
23. Your iPhone Device will now start validating your Cloud Email Mailbox Entries.
24. Your device will also “Verify” the authentication credentials for your Mailbox.
25. A header message “Verifying” will appear on your iPhone Mailbox Configuration Page
26. This verification process will take approximately 10 minutes.
27. Please note that during the “Verification Process” your iPhone Device will contact the Evotrix Cloud Email System several times. iPhone Mobile Device will by default attempt to connect to the Cloud using a SSL connectivity (which is currently not supported by Your Cloud. Using a SSL Connectivity causes the iPhone Email System and Cloud Exchange to Slow-Down significantly, thus this feature is currently un-available).
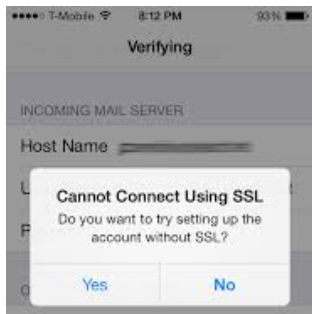
28. As noted in some iPhone Devices you will receive the Warning Message “Cannot Connect Using SSL” two times. Make sure to click on the ”Yes” Button when asked “Do you want to try setting up the account without SSL?”;
29. That’s it. Your iPhone Email Configuration is complete.
30. On Successful connectivity-test with the Cloud Email, your iPhone Device will automatically display the Mail Accounts landing page with “Cloud Email” listed in the Accounts Section
31. Some iPhone Device models “DO NOT” automatically display this landing page; instead they display the Cloud Email Account IMAP Connection Page
32. Please note that, displaying this page also means “Your Cloud Email Setup on iPhone is now complete”.
33. You should click on “Save” button to conclude the configuration process.
